This guide is for Airstore Cloud (recommended for most users). For self-hosted deployments, see Local Deployment.
1. Sign up
Go to app.airstore.ai and create an account.2. Connect a service
In the dashboard, go to Settings → Integrations and connect a service: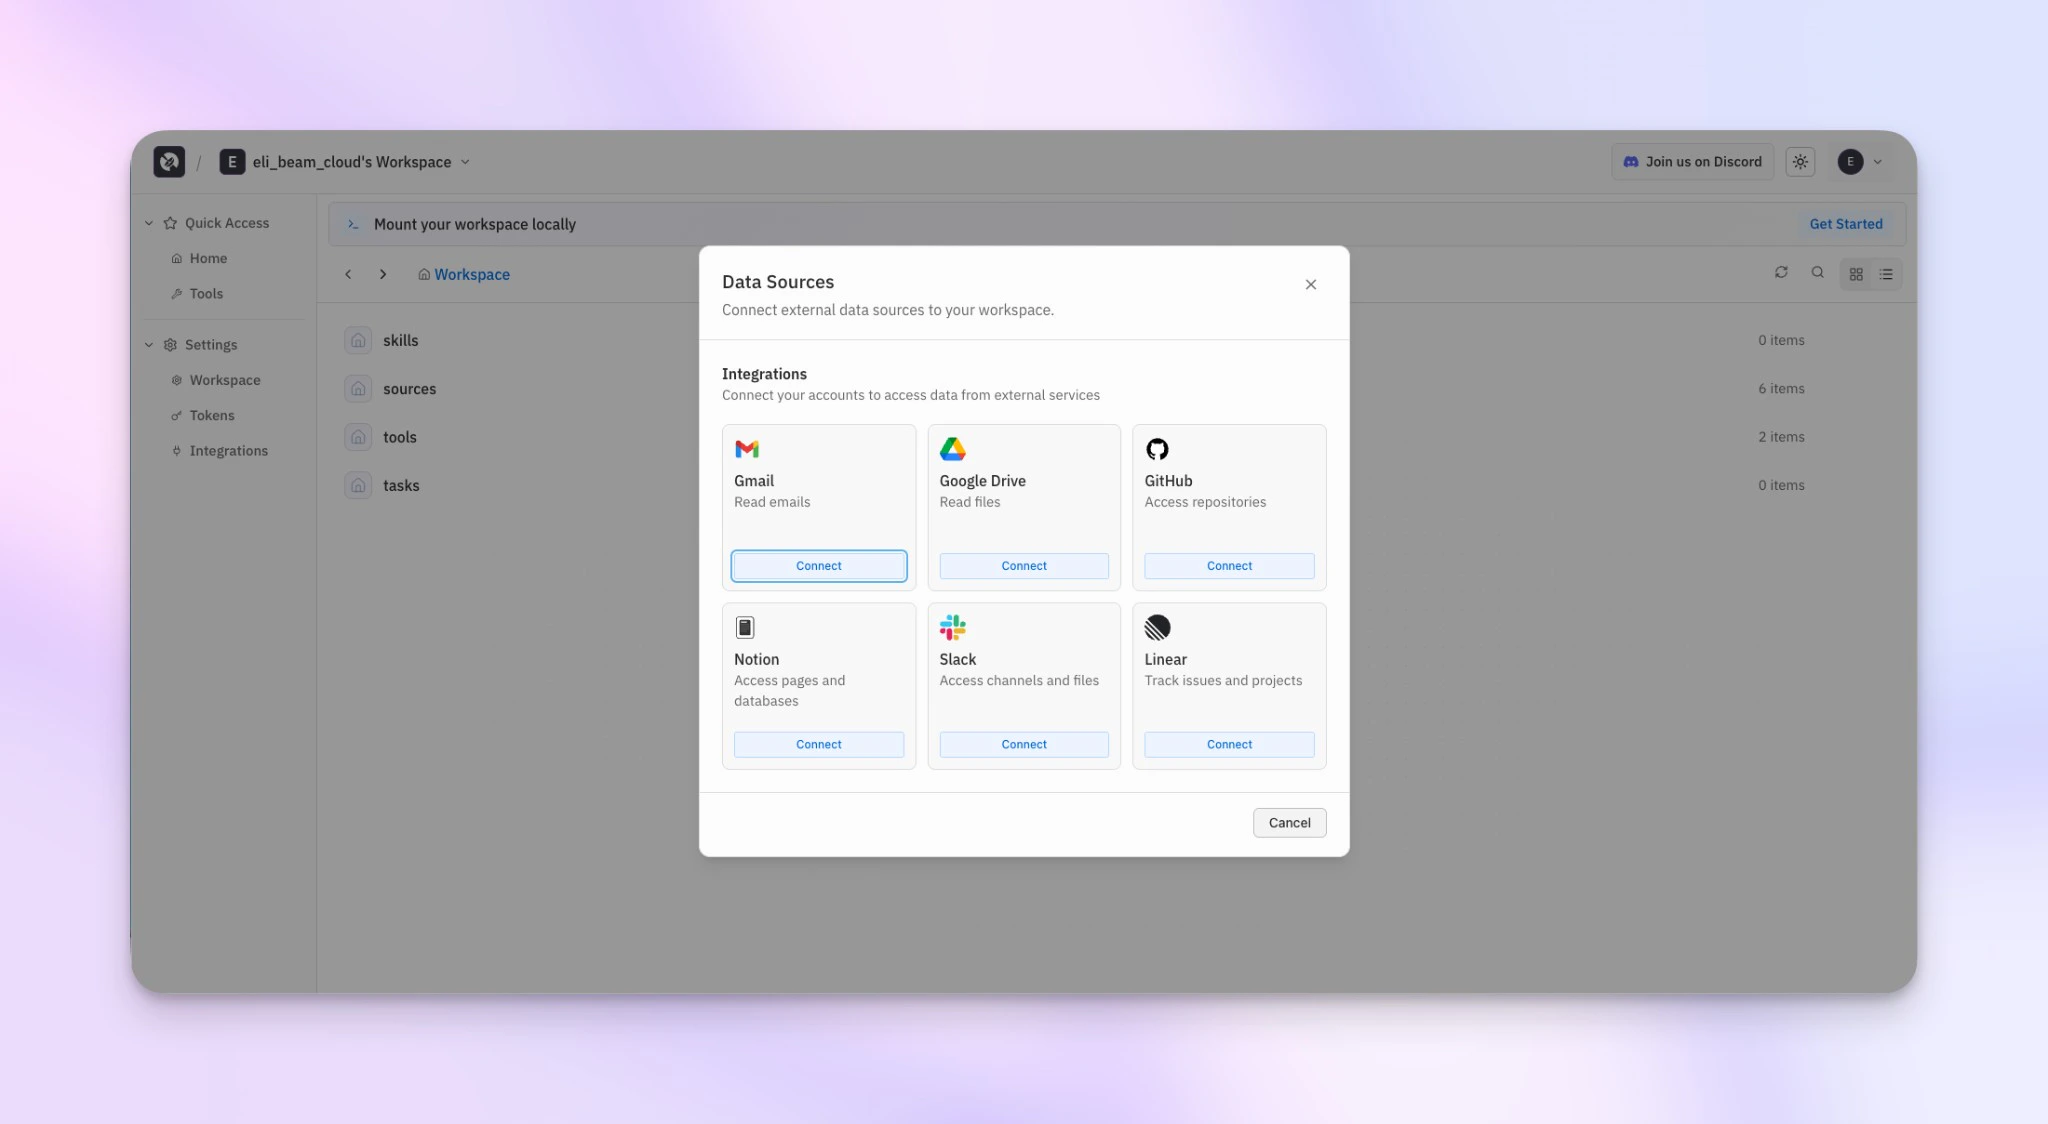
- GitHub - Access PRs, issues, and code
- Gmail - Access emails
- Google Drive - Access documents and files
- Linear - Access issues and projects
- Notion - Access pages and databases
- Slack - Access messages
- PostHog - Access analytics events, feature flags, insights, and cohorts
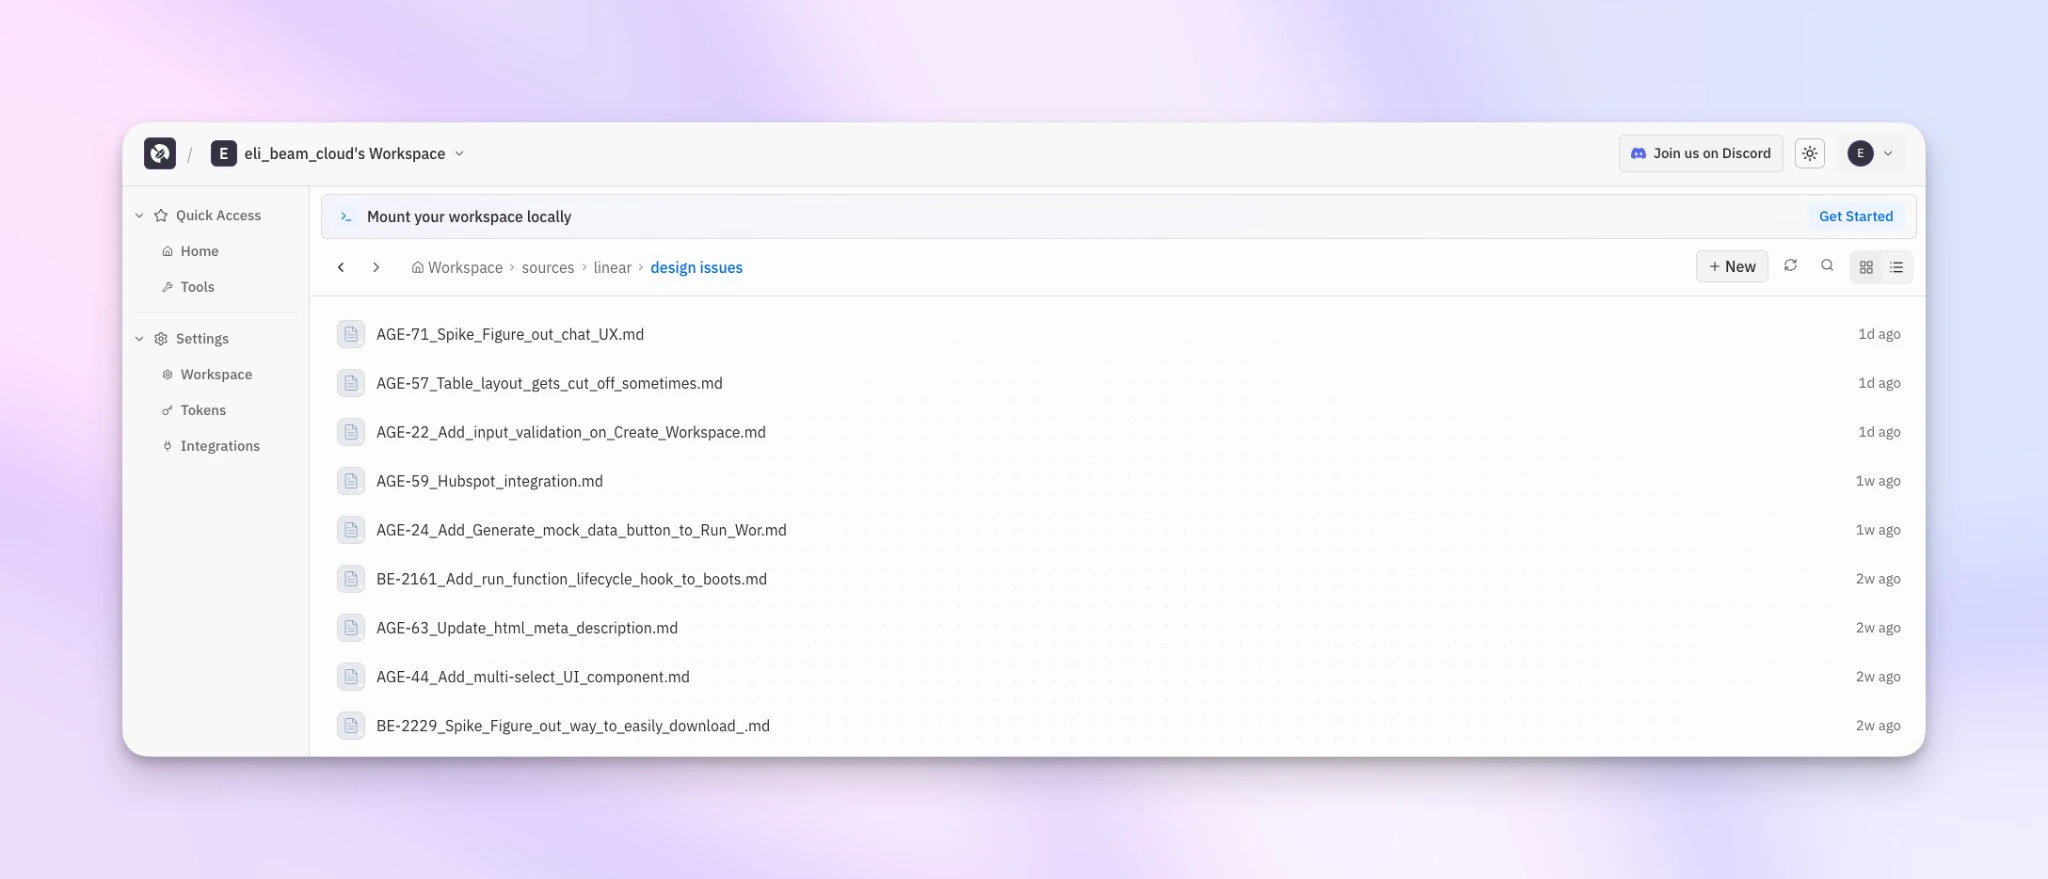
3. Create a source view
Click New View and describe what you want in natural language (smart mode):
design-issues).
Other example queries:
- “Open PRs in acme/api that need review”
- “Invoices I received in email last week”
- “Contracts in Drive pending signature”
4. Install the CLI
5. Authenticate
6. Mount the filesystem
7. Use with Claude Code
Ctrl+C in the terminal running the mount command to unmount when you’re done.
Invite your team
Workspaces can be shared with your team. Go to Settings → Workspace to invite members.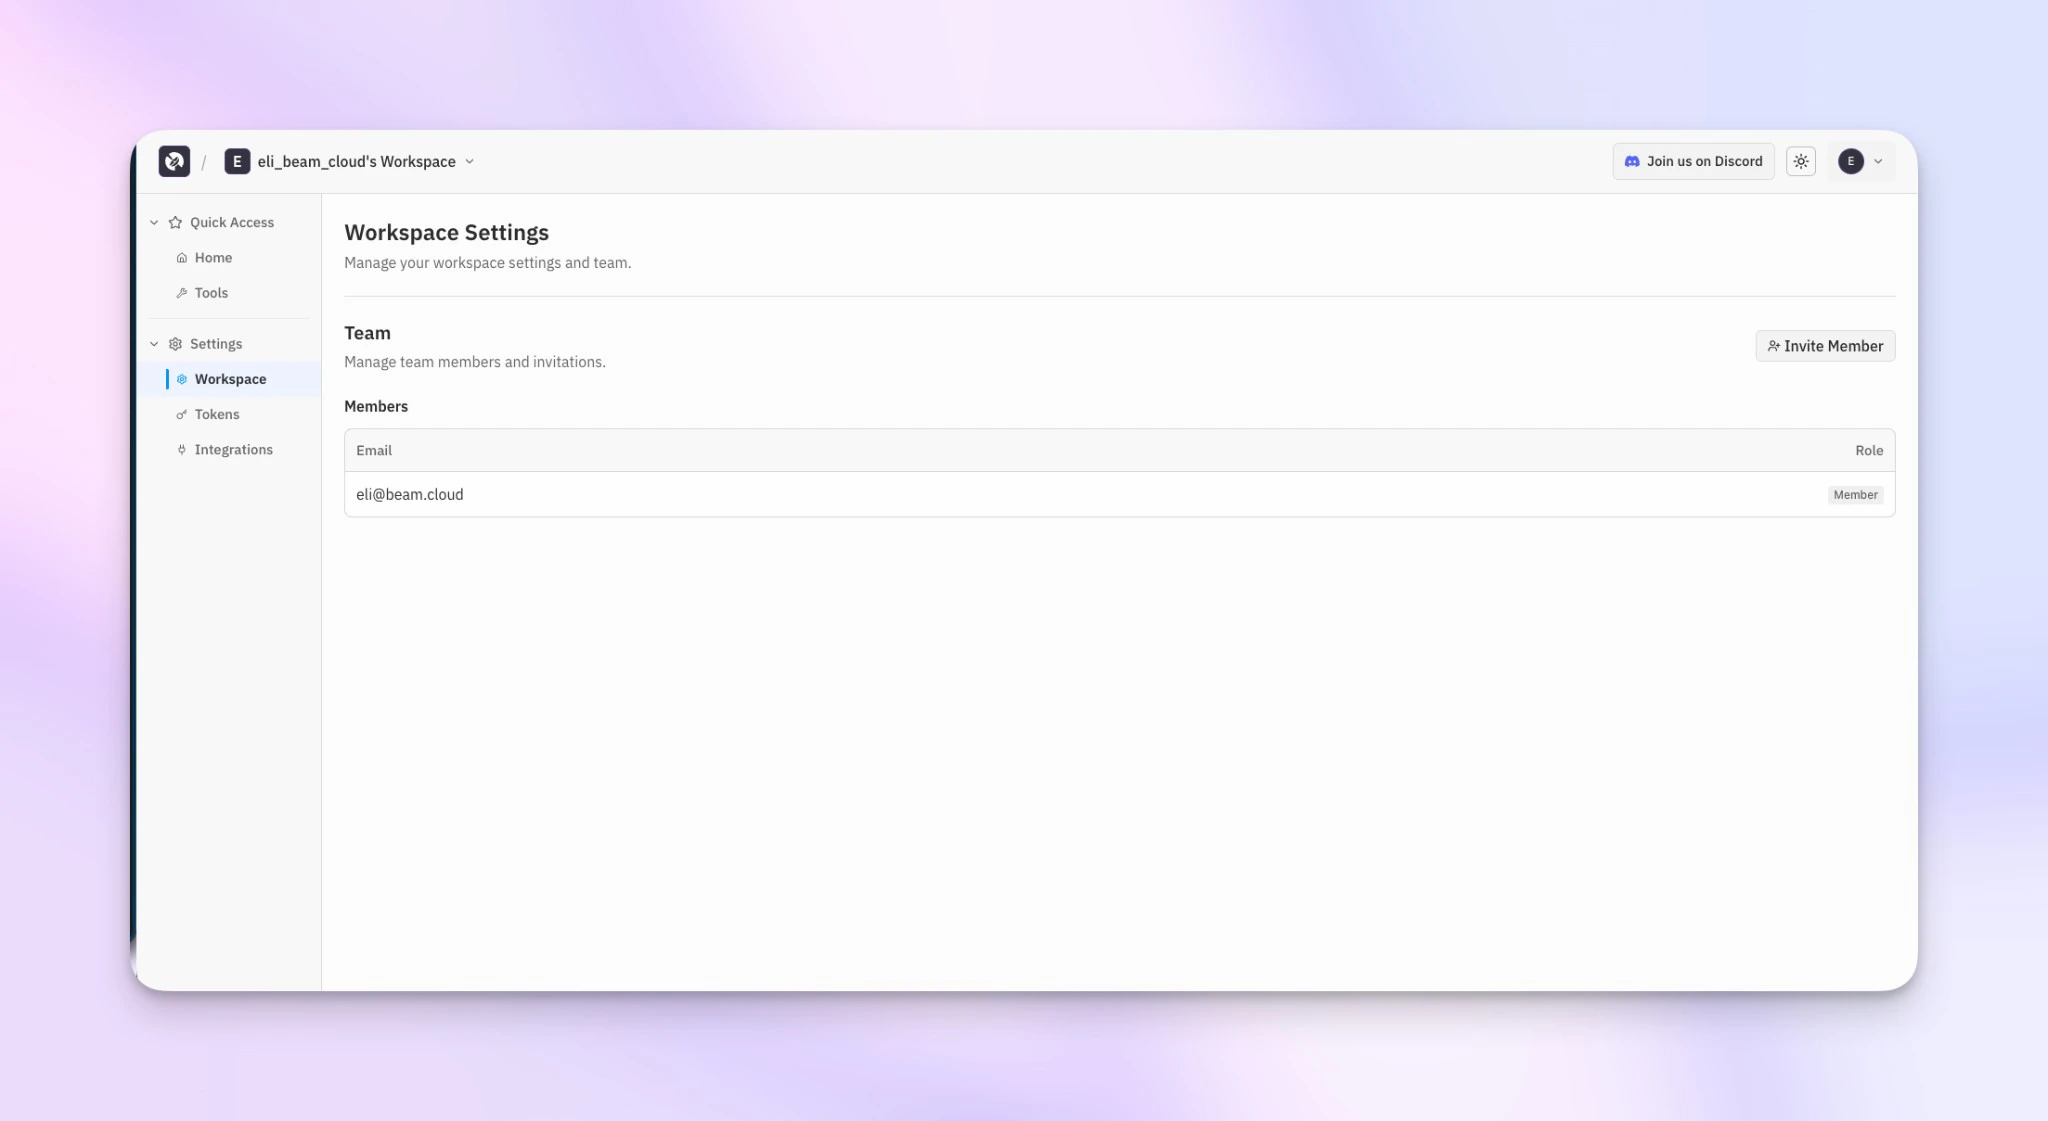
What’s happening
When you read a file:- The FUSE layer intercepts the read
- Airstore fetches the data from the cached source view
- The file contents are returned
Next steps
How it works
Understand the architecture.
CLI reference
Full command reference.