Cloud users
Add MCP servers directly in the Airstore dashboard—no config files needed.1. Go to the Tools page
In the dashboard, navigate to Tools in the sidebar.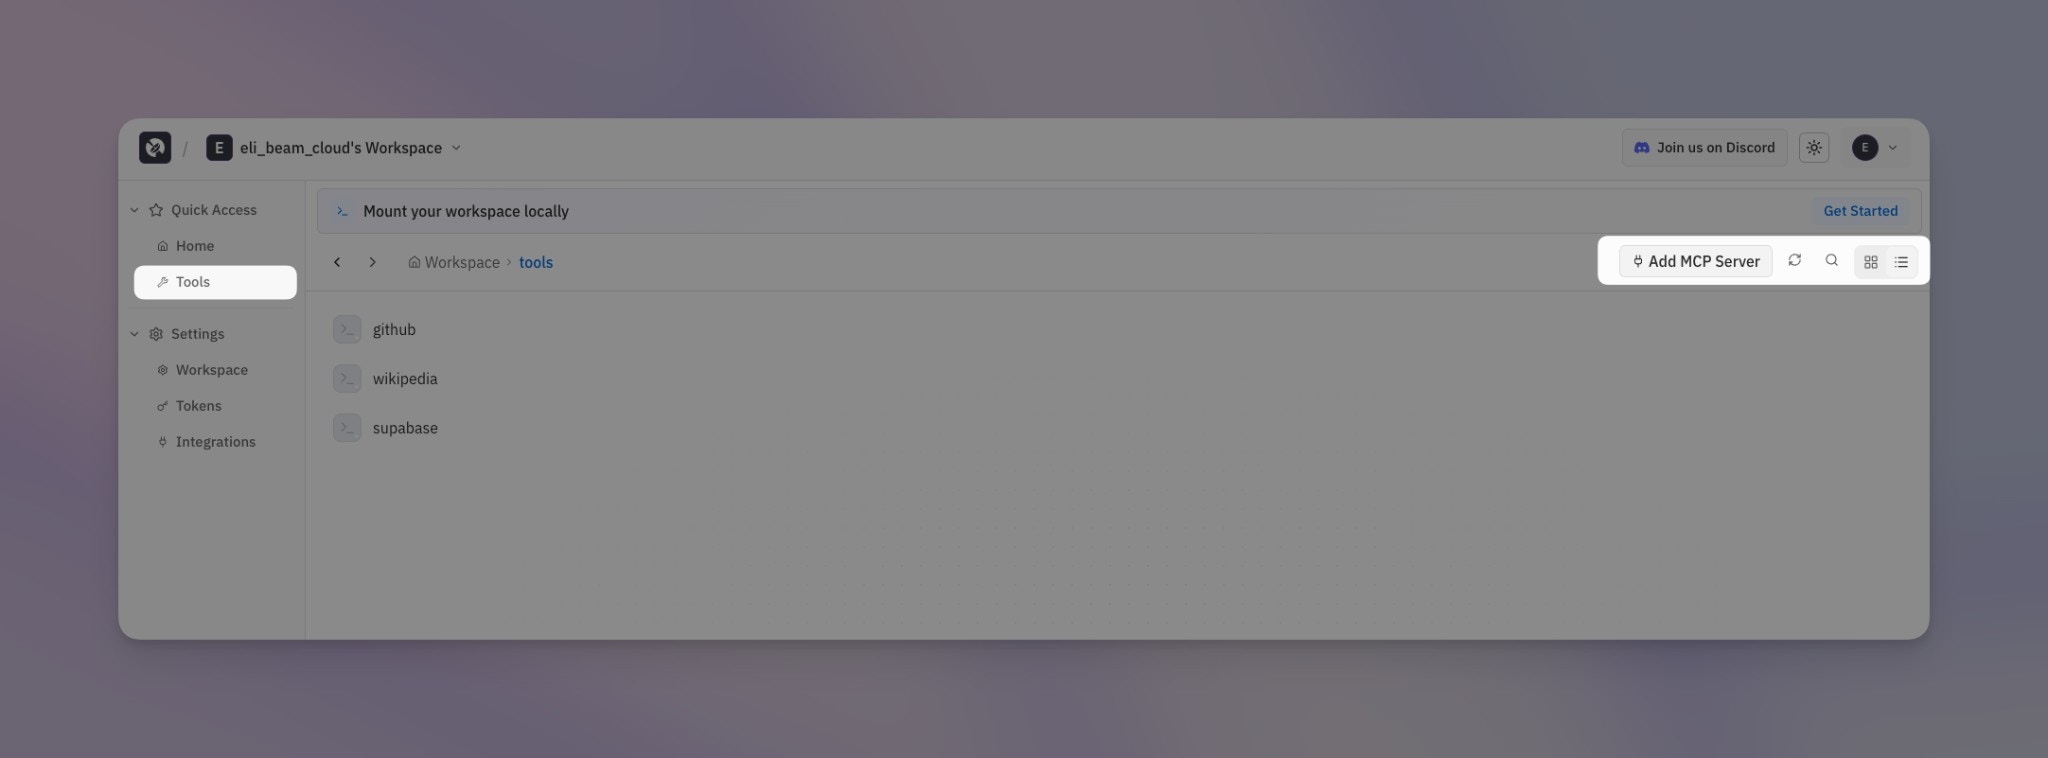
2. Click “Add MCP Server”
Click the Add MCP Server button in the top right corner.3. Configure the server
Fill in the connection details: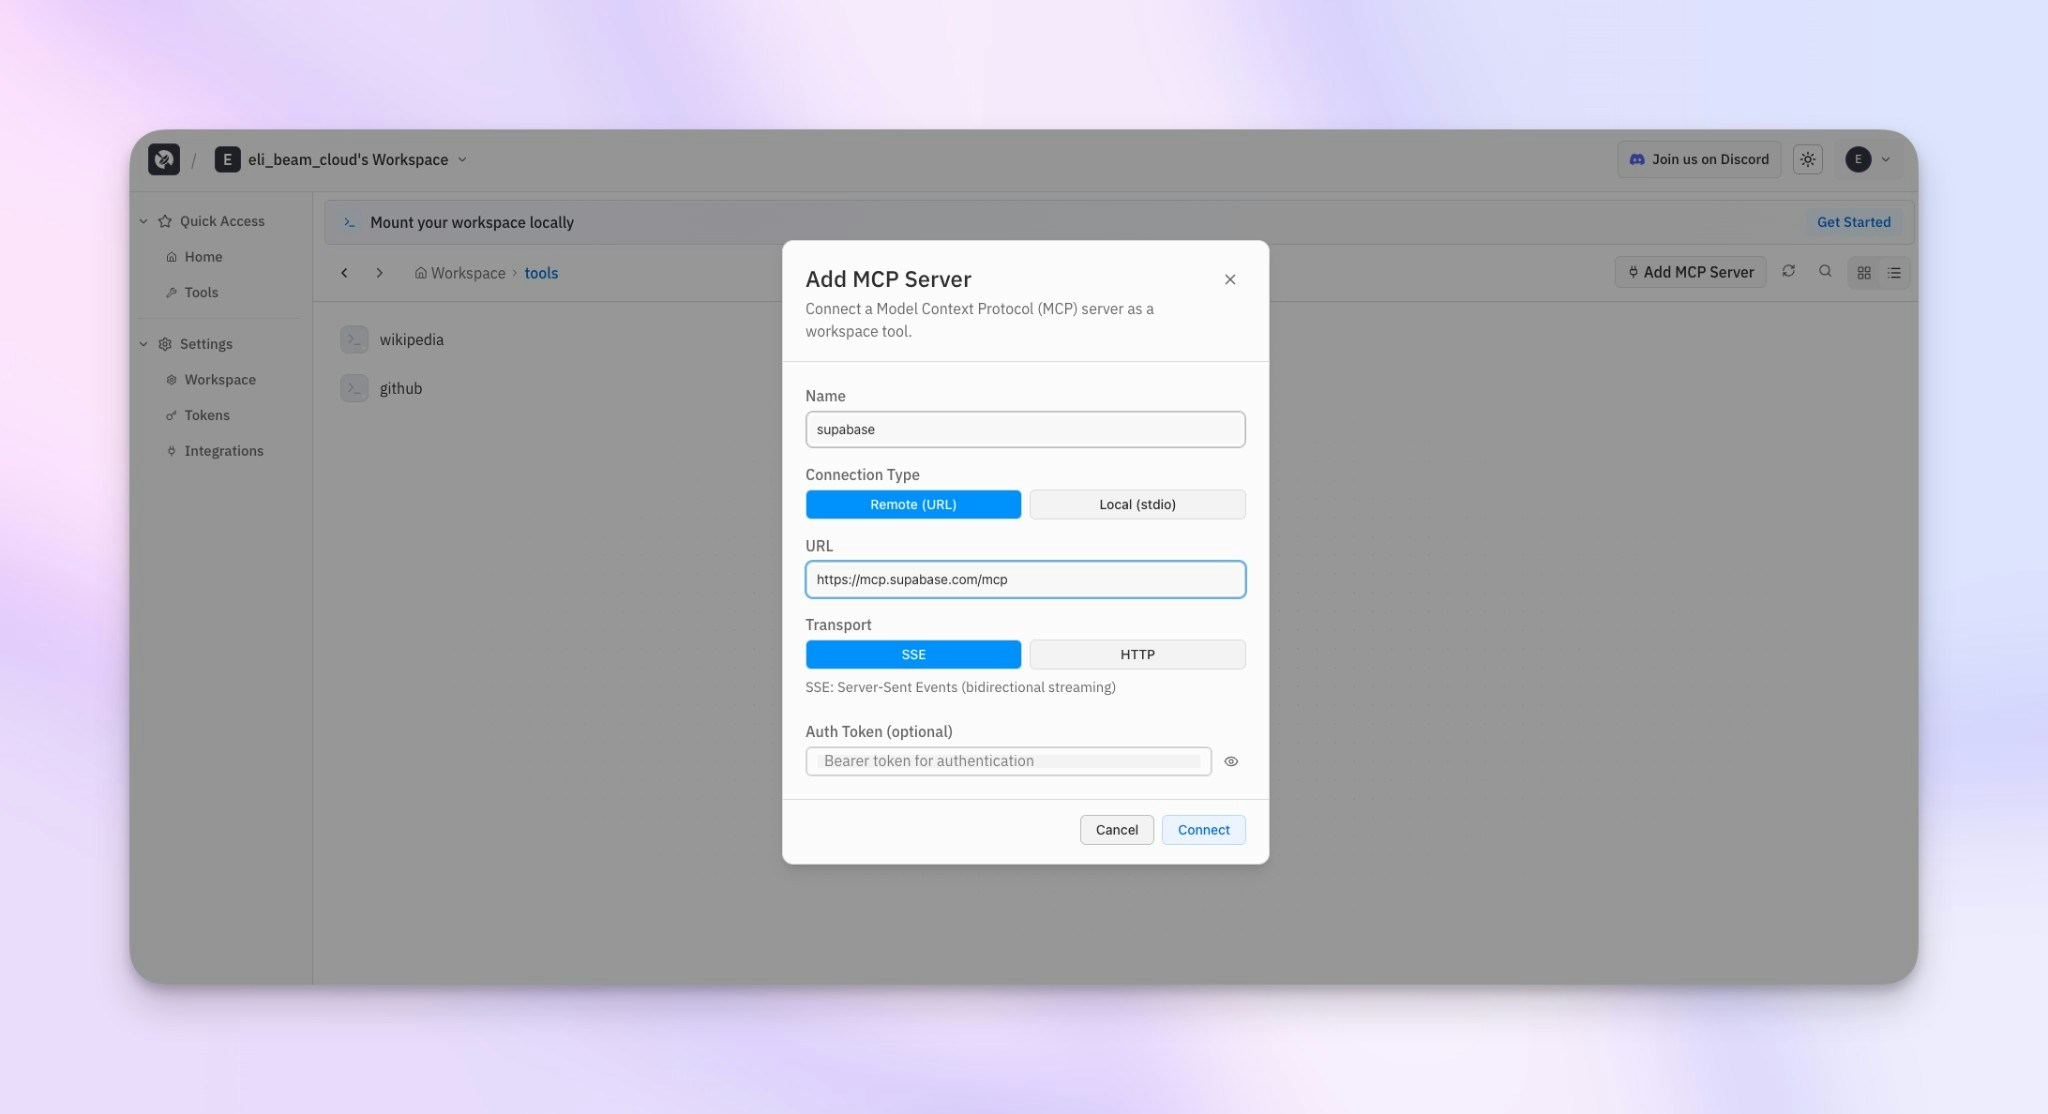
| Field | Description |
|---|---|
| Name | Identifier for the tool (e.g., “supabase”, “github”) |
| Connection Type | Remote (URL) for hosted MCP servers, Local (stdio) for self-hosted |
| URL | The MCP server endpoint (e.g., https://mcp.supabase.com/mcp) |
| Transport | SSE for streaming, HTTP for standard requests |
| Auth Token | Optional bearer token for authentication |
4. Mount and use
After adding, mount your workspace and the tool will be available:Local / self-hosted users
This section is for users running Airstore in local mode. Cloud users should use the dashboard above.
config.local.yaml file:
~/airstore/tools/my-tool.
Migration steps
1. Identify your MCP servers
List the MCP servers you’re currently using. For each one, note:- The command used to start it (e.g.,
npx -y @modelcontextprotocol/server-filesystem) - Any arguments it requires
- Environment variables it needs
2. Create config.local.yaml
Create a new config file and add each server undertools.mcp:
3. Mount and test
Common MCP server examples
Filesystem
Memory
GitHub
Custom internal tools
What changes
| Aspect | Manual MCP | Airstore |
|---|---|---|
| Server management | You start/stop servers | Airstore handles it |
| Protocol handling | JSON-RPC, stdin/stdout | Simple CLI calls |
| Tool discovery | Read MCP specs | --help flag |
| Piping | Complex | Standard bash pipes |
| Multi-tool | Manage multiple processes | All tools in one folder |
Learn more
- Tools - Learn more about how tools work
- Local deployment - Full local deployment guide